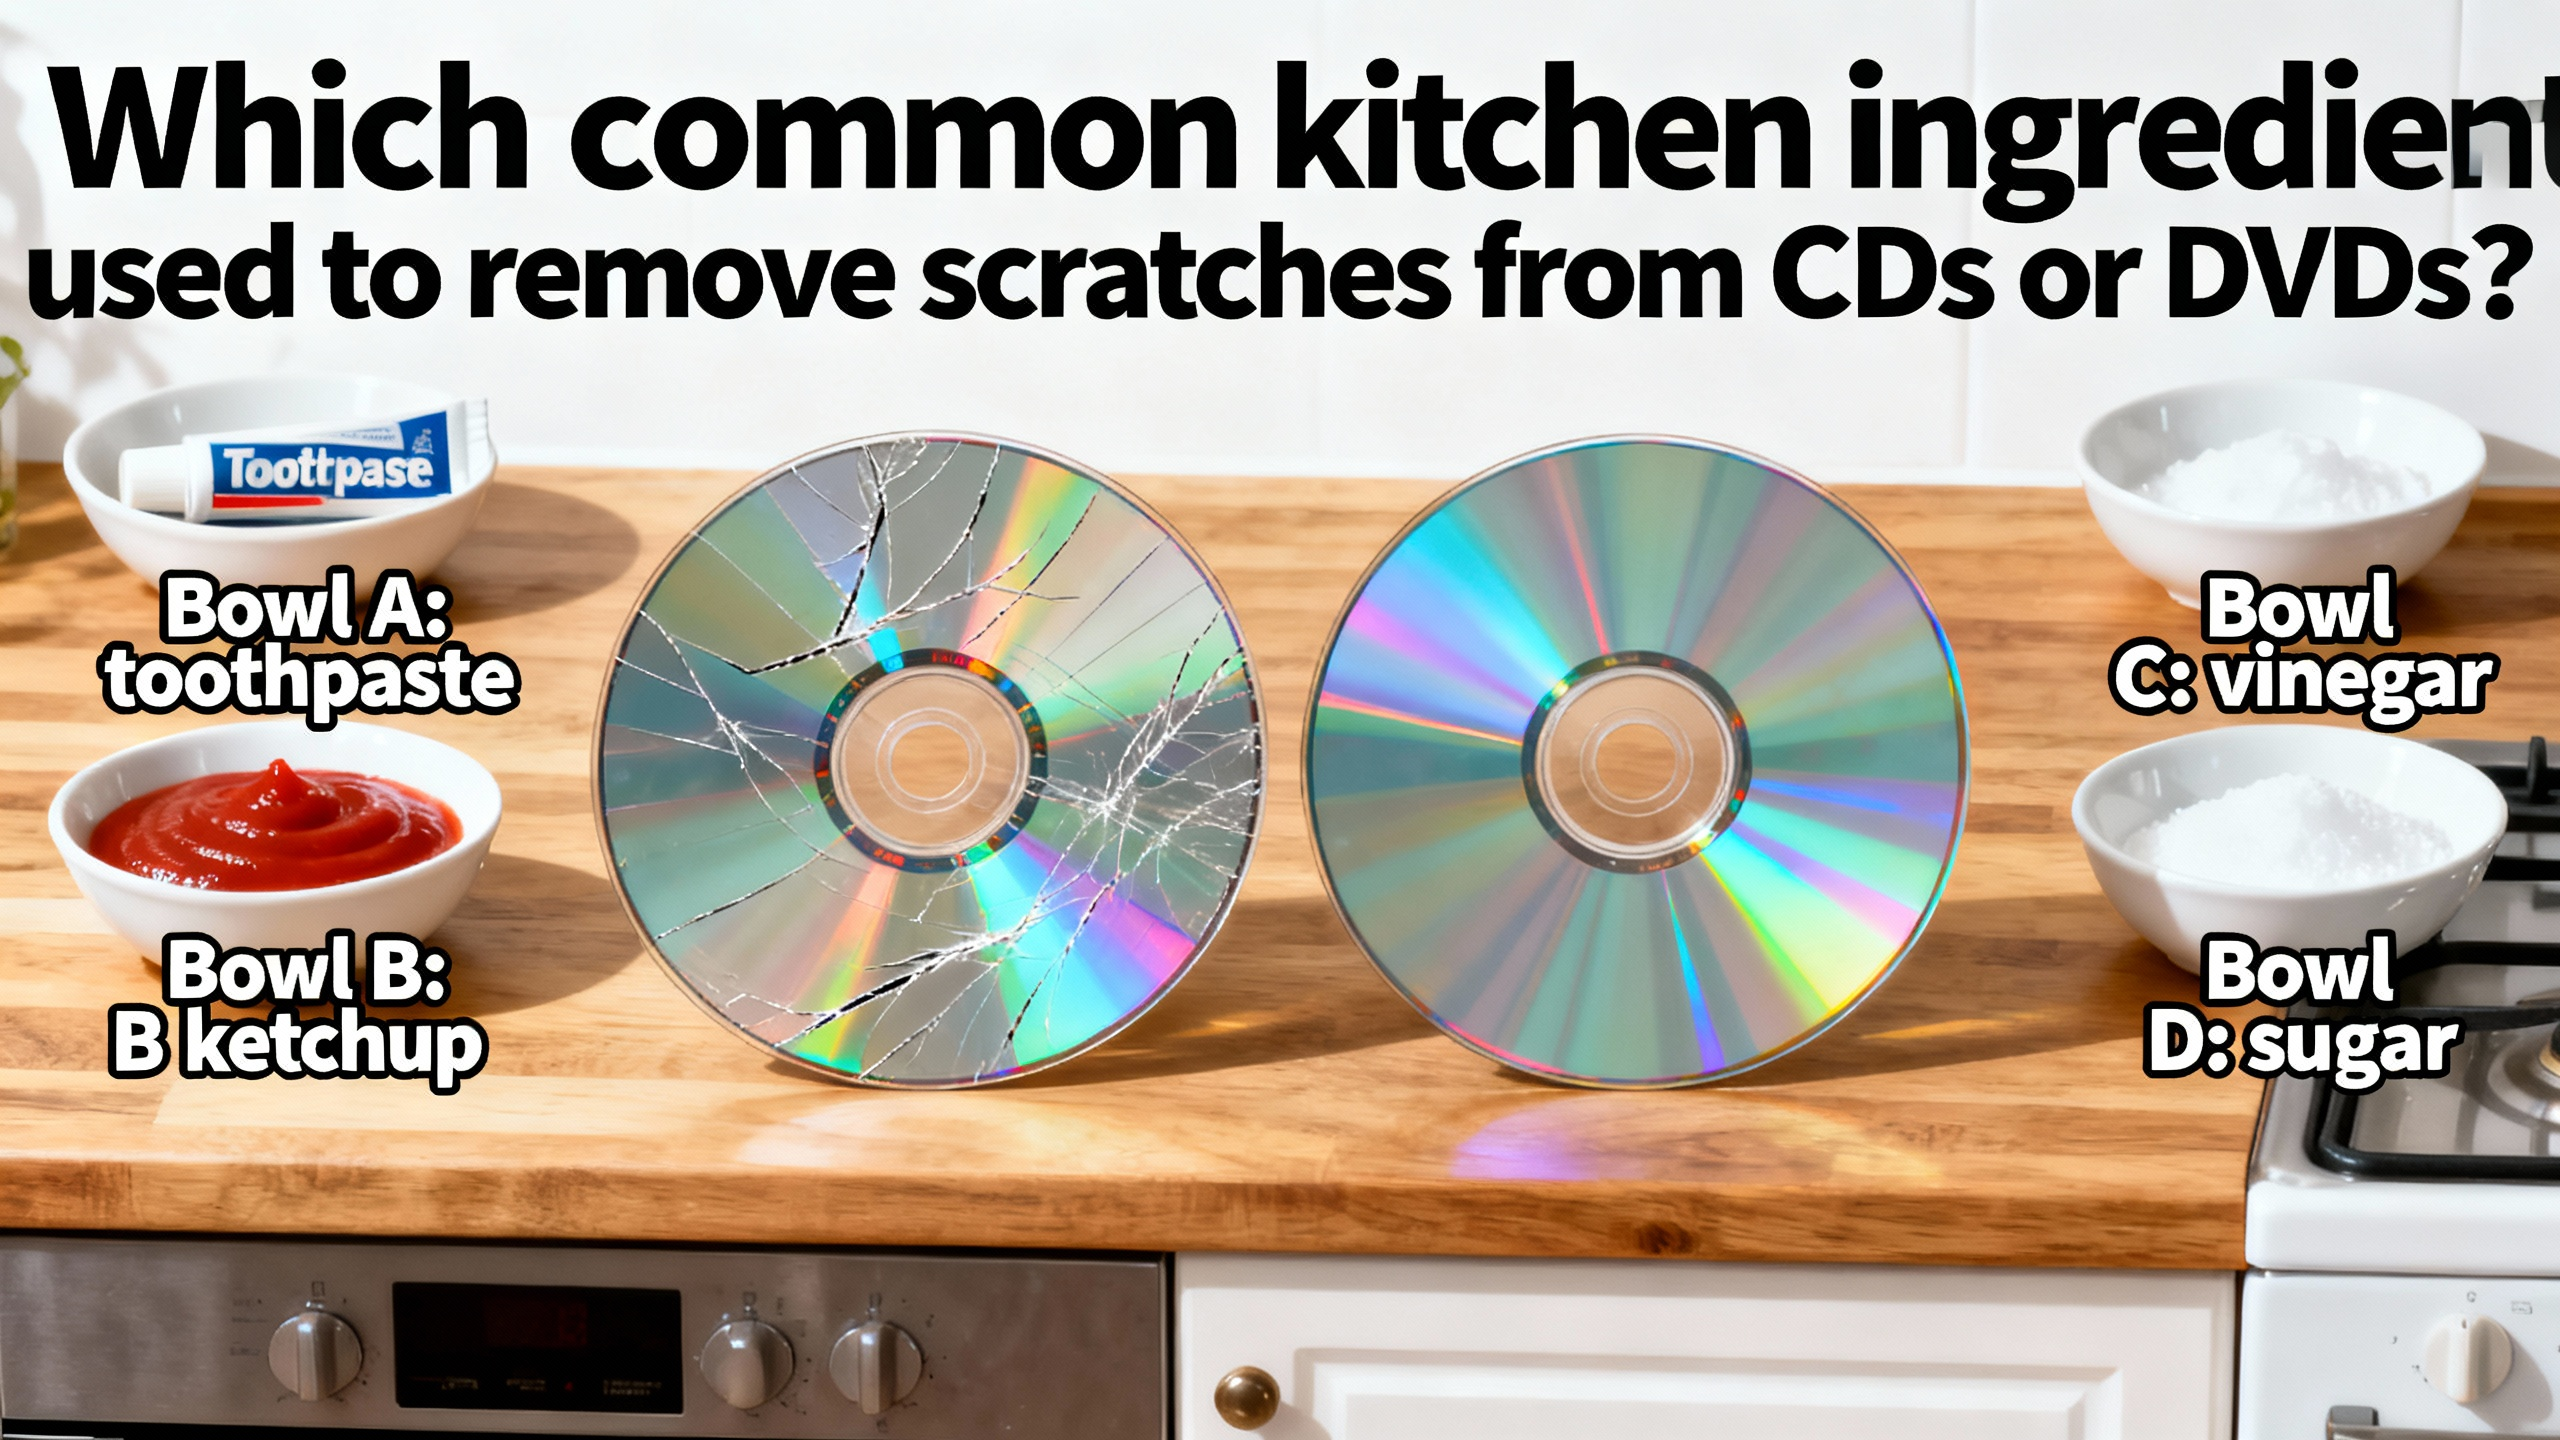
Remove Scratches from CDs or DVDs with Toothpaste
 In the digital age, although streaming services have become increasingly popular, there are still many people who hold onto their collections of CDs and DVDs. These discs can store a wealth of information, from favorite movies and music to important data. However, one common problem that CD and DVD owners often face is scratches. A scratched disc can lead to skipping, freezing, or even complete unreadability. Fortunately, a common kitchen ingredient that can come to the rescue is toothpaste. Toothpaste is a mild abrasive, which makes it a surprisingly effective tool for removing scratches from these discs.
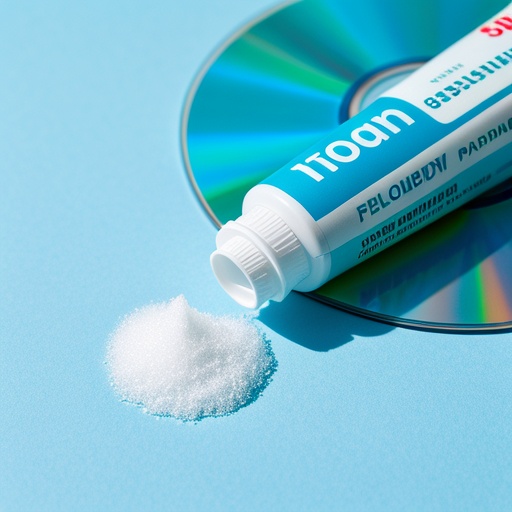
To understand why toothpaste can be used for this purpose, we need to look at its composition. Toothpaste typically contains small, abrasive particles. These particles are designed to gently scrub away plaque and stains from our teeth. When it comes to CDs and DVDs, these same abrasive properties can be harnessed to polish out minor scratches. The mild abrasiveness allows the toothpaste to smooth the surface of the disc without causing excessive damage.
 When a CD or DVD gets scratched, the scratches can disrupt the laser's ability to read the data on the disc. The laser in a CD or DVD player relies on a smooth surface to accurately read the digital information encoded on the disc. Even a small scratch can cause the laser to bounce off course, leading to errors in data retrieval. Toothpaste can help to polish out these minor scratches, restoring the smoothness of the disc's surface and allowing the laser to read the data more accurately.
To use toothpaste for this task, you should first choose a non - gel toothpaste. Gel toothpaste usually doesn't have the right abrasive properties. The reason for this is that gel toothpaste often contains more water and fewer abrasive particles compared to traditional toothpaste. Without the necessary abrasiveness, gel toothpaste may not be able to effectively polish out the scratches. So, head to your bathroom cabinet and look for a regular, non - gel toothpaste. Brands like Colgate, Crest, or Sensodyne in their non - gel varieties are good options.
Once you have the right toothpaste, the next step is to prepare the disc. Start by inspecting the disc carefully to identify the scratched area. You can hold the disc up to the light to get a better view of the scratches. Then, squeeze a small amount of toothpaste onto the scratched area of the disc. You don't need a large amount; a pea - sized drop is usually sufficient. Using too much toothpaste can make the cleaning process messier and may not necessarily yield better results.
Now, it's time to start rubbing. You should use a soft, clean cloth for this step. A microfiber cloth is an excellent choice as it is gentle on the disc and won't leave behind any lint. Gently rub the toothpaste in a straight line from the center of the disc outwards. This is because the data on a disc is arranged in concentric circles. Rubbing in this direction helps to minimize further damage. If you were to rub in a circular motion, you could potentially create new scratches that run across the data tracks, making the problem worse. As you rub, apply gentle pressure. You don't want to press too hard as this could cause more damage to the disc.
After rubbing for a short while, say about 30 seconds to a minute, it's time to rinse the disc. Rinse the disc thoroughly with water to remove all the toothpaste. Make sure to get rid of every trace of toothpaste as any remaining toothpaste could dry on the disc and cause problems. You can hold the disc under a gentle stream of lukewarm water. Avoid using hot water as it could warp the disc. Once the toothpaste is completely removed, dry the disc with a clean, soft cloth. Pat the disc dry gently to avoid creating new scratches.
It's important to note that this method only works for minor scratches. Deep scratches may be beyond repair. Deep scratches can penetrate through multiple layers of the disc, damaging the data - storing layer. In such cases, using toothpaste on them won't bring the disc back to full functionality. For example, if the scratch is so deep that you can feel it with your fingernail, it's likely that the toothpaste method won't work. You may need to consider other options, such as professional disc repair services or replacing the disc.
This toothpaste method is a cost - effective and accessible solution as toothpaste is commonly found in most households. You don't need to spend a lot of money on specialized disc - repair products. It's a simple and quick fix that you can try at home. However, if you have a valuable or important disc, it might be a good idea to test this method on a less important disc first to see if it works as expected. For instance, if you have a rare, out - of - print DVD that you've been collecting for years, it's better to test the toothpaste method on an old, less valuable DVD before attempting it on the precious one. This way, you can avoid any potential damage to your valuable disc.
In conclusion, toothpaste can be a handy tool for removing minor scratches from CDs and DVDs. By following the proper steps and understanding its limitations, you can potentially save your favorite discs from becoming unreadable. Just remember to choose the right toothpaste, use a gentle touch, and be aware that it's only effective for minor scratches. With a little bit of effort, you can keep your CD and DVD collection in good working condition.